
The Ultimate Chicken Manicotti Alfredo Recipe – Creamy & Cheesy Delight!
You’re about to fall in love with this creamy, cheesy, and incredibly delicious dish! 🤩 If you’re craving a cozy, comforting meal that’s packed with flavor, this chicken manicotti alfredo will be your new favorite go-to recipe. The best part? It’s super easy to make, and you don’t need to be a pro chef to master it! 🍽️
Imagine tender pasta tubes stuffed with a delicious chicken and cheese mixture, all smothered in a rich, velvety Alfredo sauce—sounds like a dream, right? 😍 Not only is this dish absolutely mouthwatering, but it’s also perfect for family dinners, date nights, or even meal prep! Plus, you can easily switch things up with different flavors to make it even more exciting! 🎉
So, grab your apron, turn up your favorite tunes, and let’s make something amazing together! Keep reading for the step-by-step guide, and before you know it, you’ll be serving up a dish that’ll have everyone asking for seconds. 🍽️✨
Table of Contents

Chicken Manicotti Alfredo
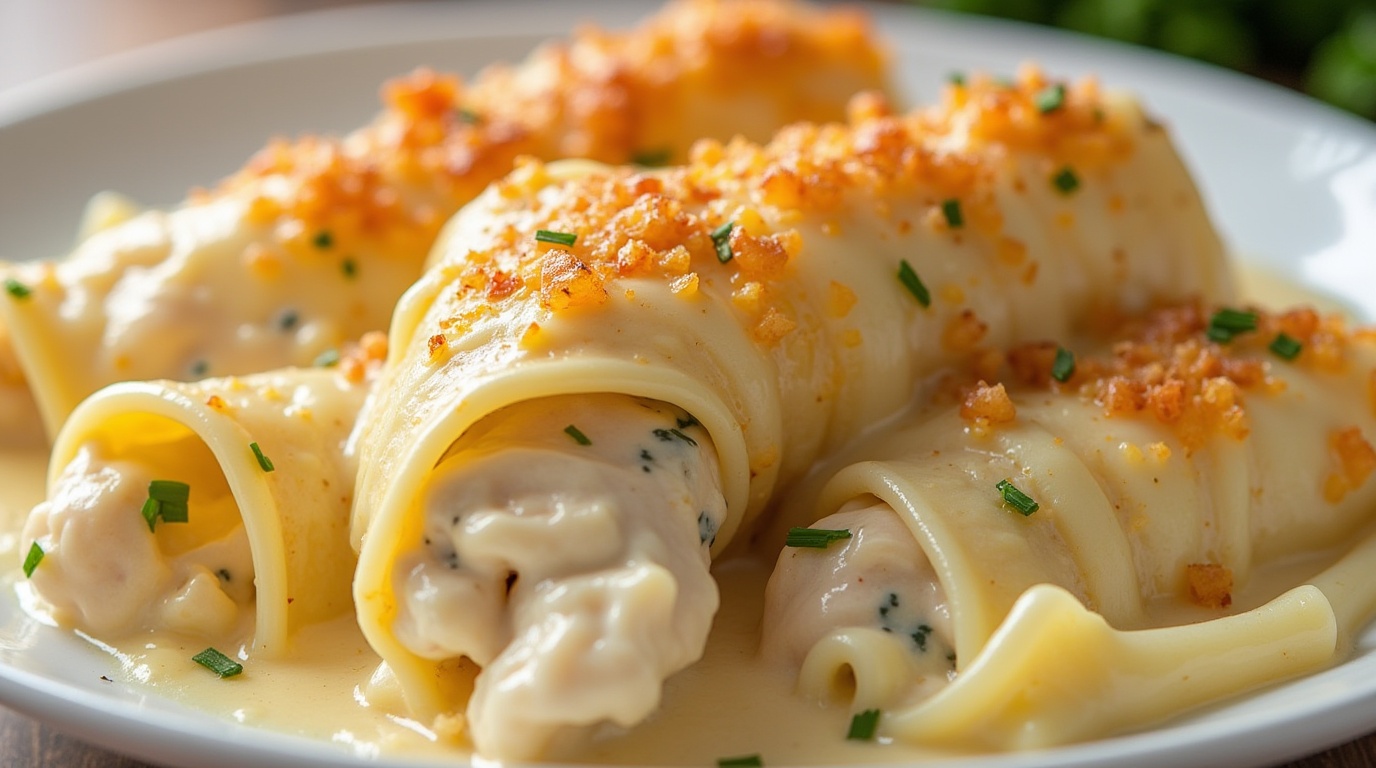
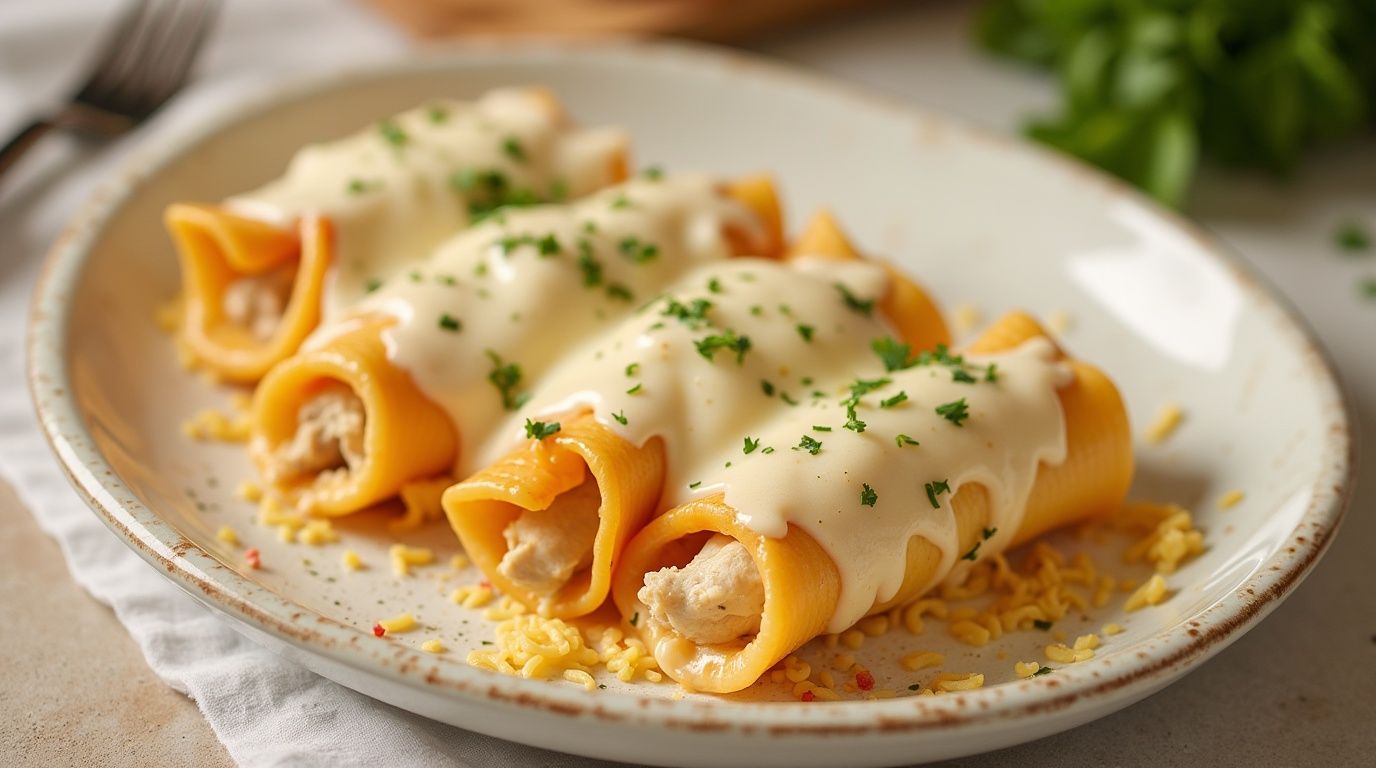
✨ Get ready to fall in love with this ultra-creamy, dreamy chicken manicotti alfredo! 😍 It’s a dish that feels fancy but is so simple to make! Tender pasta tubes stuffed with a cheesy, flavorful chicken filling, all smothered in rich, velvety Alfredo sauce… oh my! 🤩 You’re going to love this! 🧀🍗
- Prep Time:20 minutes
- Cook Time:45 minutes
- Total Time:1 hour 5 minutes
- Yield:6 servings
Ingredients
- 8 manicotti pasta shells
- 2 cups shredded cooked chicken
- 1 cup ricotta cheese
- 1 cup shredded mozzarella cheese
- 1/2 cup grated Parmesan cheese
- 1 egg
- 2 cups Alfredo sauce
- 1/2 tsp garlic powder
- 1/2 tsp Italian seasoning
- Salt and pepper to taste
- Fresh parsley for garnish
Instructions
- First, preheat your oven to 375°F (190°C). Grease a baking dish lightly with butter or oil. 🧈
- Next, cook the manicotti shells according to the package instructions until al dente. Drain and set aside. 🍝
- Then, in a bowl, mix the shredded chicken, ricotta, mozzarella, Parmesan, egg, garlic powder, Italian seasoning, salt, and pepper. Stir well until combined! 🤗
- Carefully fill each manicotti shell with the delicious chicken mixture. A piping bag makes this super easy! 🛠️
- Place the stuffed manicotti in the prepared baking dish. Pour the Alfredo sauce generously over the top. 😋
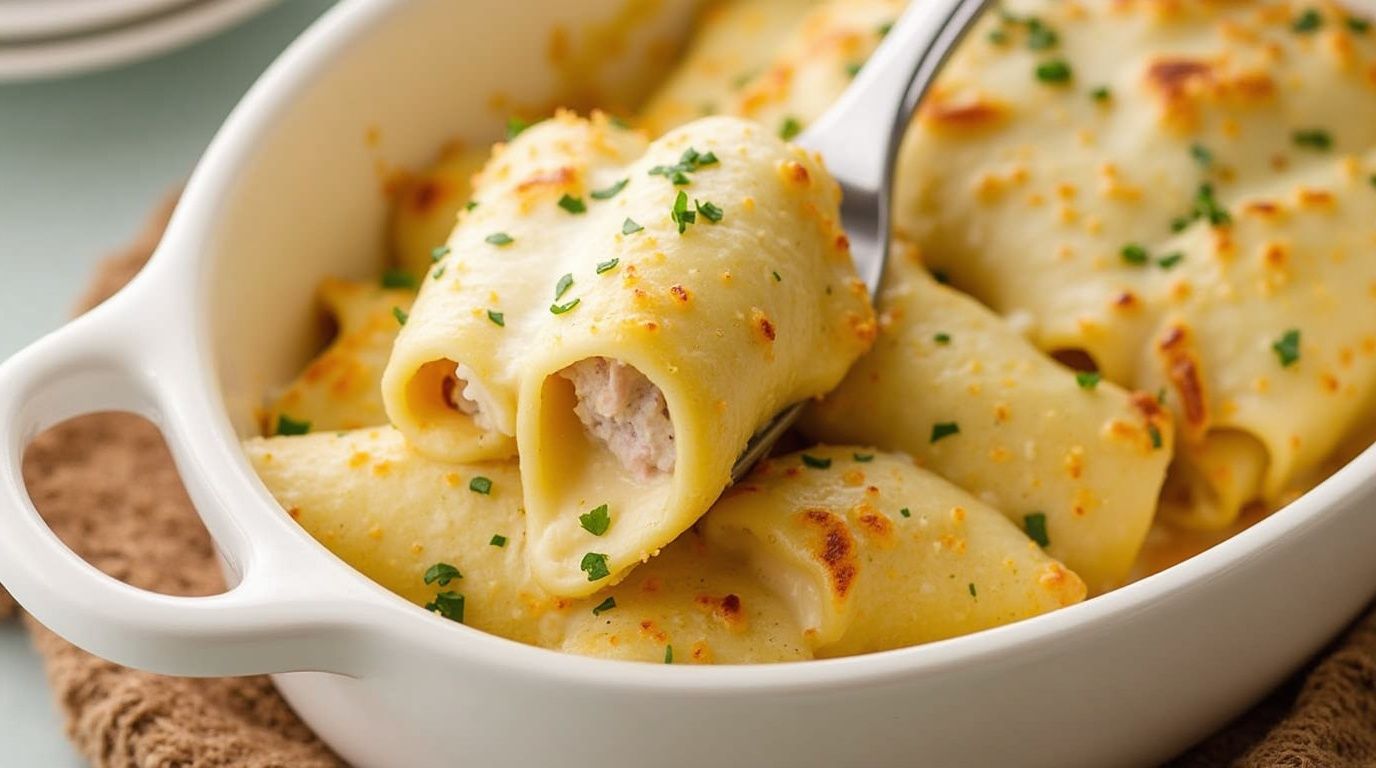
- Cover with foil and bake for 30 minutes. Remove foil, sprinkle extra mozzarella on top, and bake for another 15 minutes until bubbly and golden! 🥳
- Finally, garnish with fresh parsley, serve hot, and enjoy the ultimate comfort food! 🤤
Creamy, Cheesy & Irresistible: Chicken Manicotti Alfredo
Imagine diving into a warm, cheesy, and oh-so-creamy plate of comfort food! 😍✨ That’s exactly what you get with this mouthwatering dish. First, we take delicate manicotti pasta and fill it with a deliciously seasoned chicken mixture. Then, we smother it in a rich, velvety Alfredo sauce that’s pure heaven! 😋 And then, we add a generous sprinkle of gooey melted cheese on top, making every bite pure magic. So, if you’re craving something indulgent and satisfying, this is definitely the recipe for you! 💕🥄
Nutrition
- Serving Size: 1 serving
- Calories: 620
- Sugar: 4.2 g
- Sodium: 780 mg
- Fat: 41.8 g
- Saturated Fat: 17.3 g
- Carbohydrates: 45.6 g
- Fiber: 3.2 g
- Protein: 32.5 g
- Cholesterol: 110 mg
First, let’s talk about flavor! This dish is packed with creamy, garlicky goodness that wraps around each bite like a warm hug. 🤗💕 The chicken is perfectly seasoned, the pasta is tender, and the Alfredo sauce? Oh, it’s simply divine! 😍 Every forkful is a combination of rich and savory flavors that will have you going back for seconds… and maybe even thirds! 🥰🍽️
Then, there’s the cheese—oh, the glorious cheese! 🧀✨ It melts into a bubbly, golden layer that adds the perfect finishing touch to this dreamy dish. If you love a meal that’s indulgent, satisfying, and totally unforgettable, this one is for you! 💖
Finally, whether you’re serving this for a cozy family dinner or impressing guests, this chicken manicotti alfredo is a total showstopper! 🌟 You can pair it with a crisp green salad and some warm garlic bread for the ultimate meal. 🥖🥗 Plus, leftovers taste just as amazing the next day, so you’ll be looking forward to another delicious plate! 🍽️
FAQs ❓
Do you peel plums before baking?
It depends on how you’re using them. When making jelly or jam, yes you should peel plums. When making this recipe, or other recipes where you roast or bake plums, leave the skin on. They add nice color and shape, plus a bit of tartness that contrasts nicely with the sweetness of the plum flesh.
What is the difference between a tart and a plum galette with puff pastry?
I took a few liberties in naming this plum dessert a “tart.” Mine is actually not really a tart or a galette. Technically, tarts are baked in a very specific style pan (a tart pan) while a galette is a French pastry that’s basically a freeform pie. For a galette, pie crust is rolled flat, filled with lots of fresh fruit (sliced or chopped) then the edges of the crust are folded over the edge of the fruit, overlapping around 1 inch. My tarts are freeform, but with a thinner, puff pastry crust instead of a pie crust. In addition, mine don’t have as much fruit as a typical galette, and the edge of the crust isn’t folded on top of the fruit.
How do you keep the bottom of mini plum tarts from getting soggy?
I’ve never had an issue with these tarts getting soggy. Don’t make them more than 8 hours ahead and make sure to cook them until the crust is crispy.
Try These Other Recipes!

Recipe by Jound
25 mins

Recipe by Jound
15 mins

Recipe by Jound
25 mins

Recipe by Jound
30 mins