
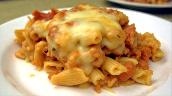
Stuffed Wrapped Chicken Breast – A Flavorful, Juicy Delight! 🍗🔥
If you’re looking for a meal that is both impressive and easy to make, you’re in for a treat! Stuffed wrapped chicken breast is a dish that brings together juicy chicken, a flavorful filling, and a golden, crispy exterior. 😍 It’s the perfect balance of rich taste and elegant presentation, yet simple enough for a weeknight dinner. First, imagine slicing into a tender chicken breast, revealing a cheesy, savory stuffing—sounds delicious, right? Next, think about how versatile it is! You can switch up the fillings, making it perfect for different cravings. And then, finally, the best part—this meal is healthy, satisfying, and oh-so-delicious! 😋 Keep reading to discover how to make this showstopping dish right in your kitchen. You’re going to love it! ❤️
Table of Contents
- Ingredients in Stuffed Wrapped Chicken Breast
- How to Make Stuffed Wrapped Chicken Breast
- Flavor Variations for Stuffed Wrapped Chicken Breast
- Ways to Serve Stuffed Wrapped Chicken Breast?
- Storing Your Stuffed Wrapped Chicken Breast
- FAQs ❓
- If You Like Stuffed Wrapped Chicken Breast, Try These Other Recipes!
Stuffed Wrapped Chicken Breast
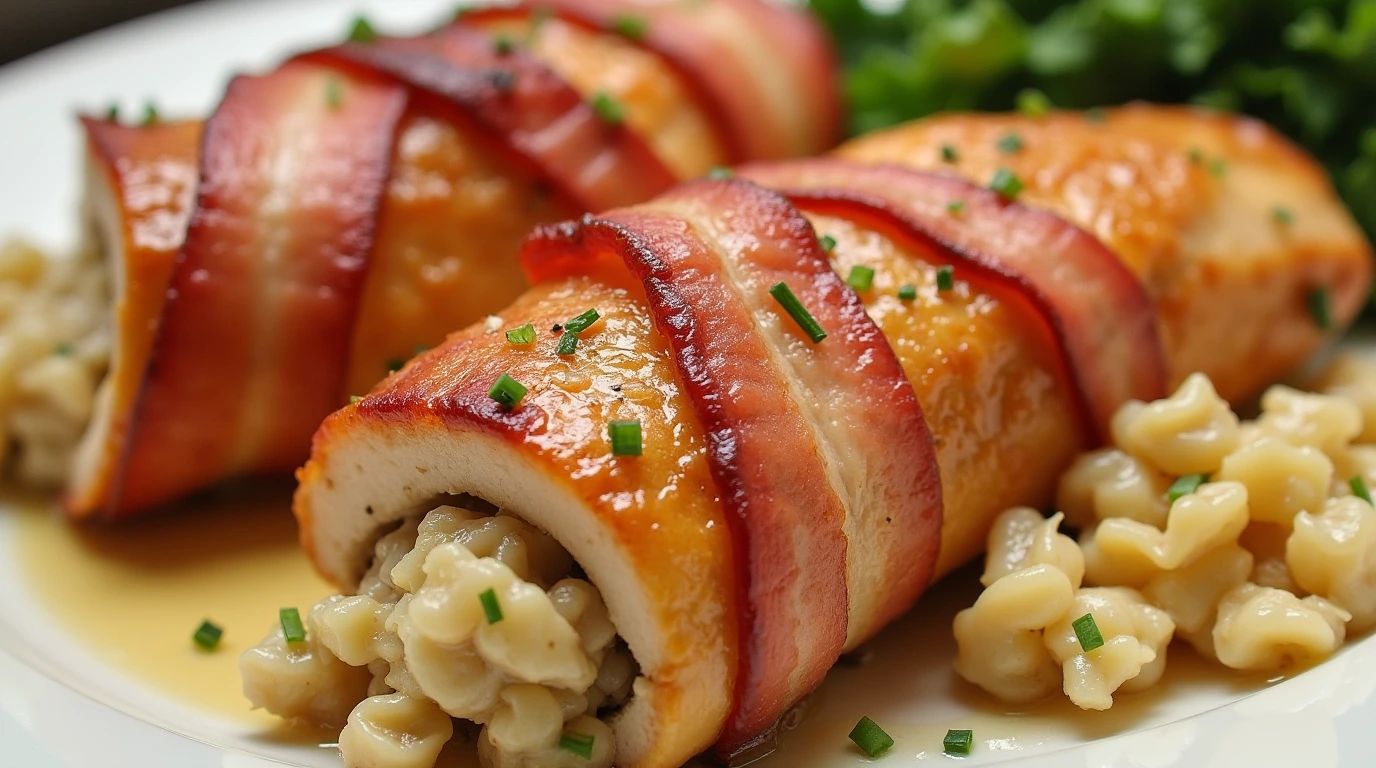
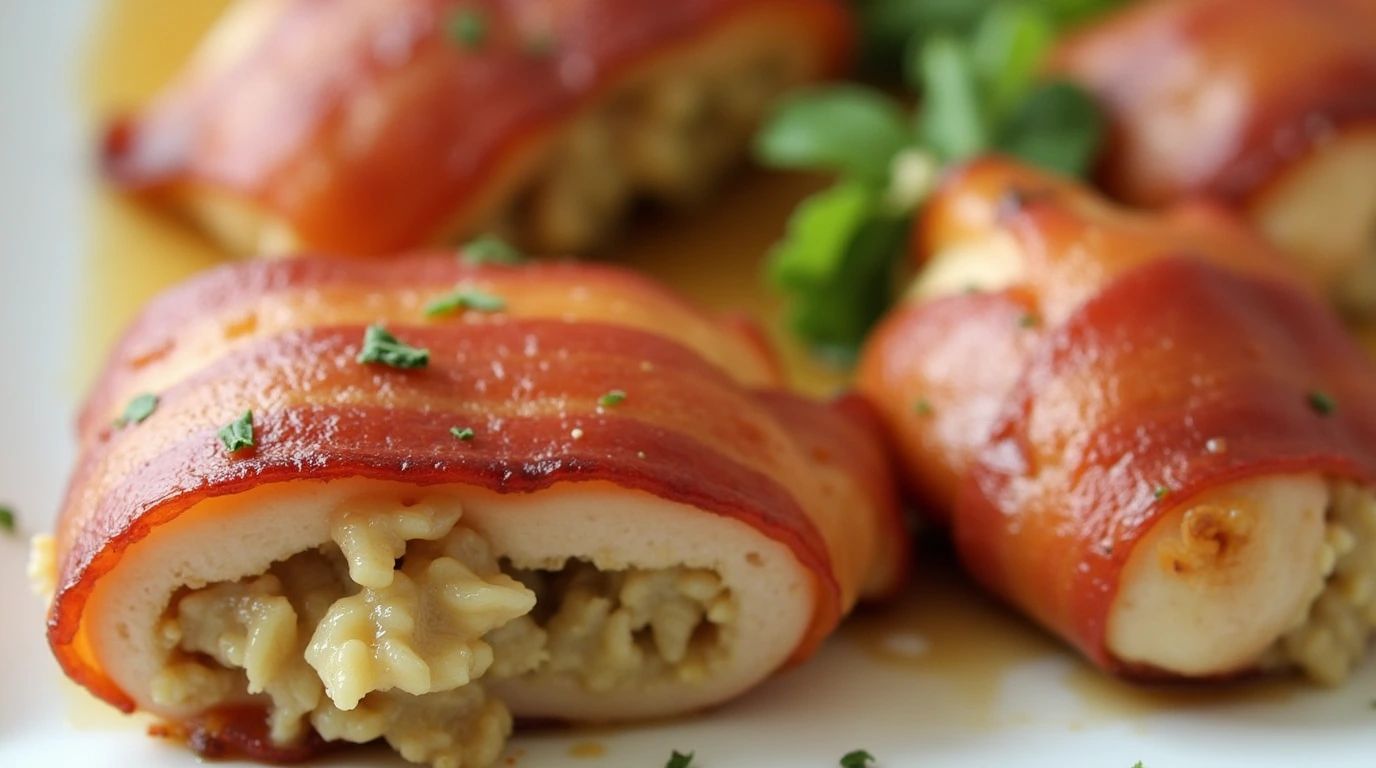
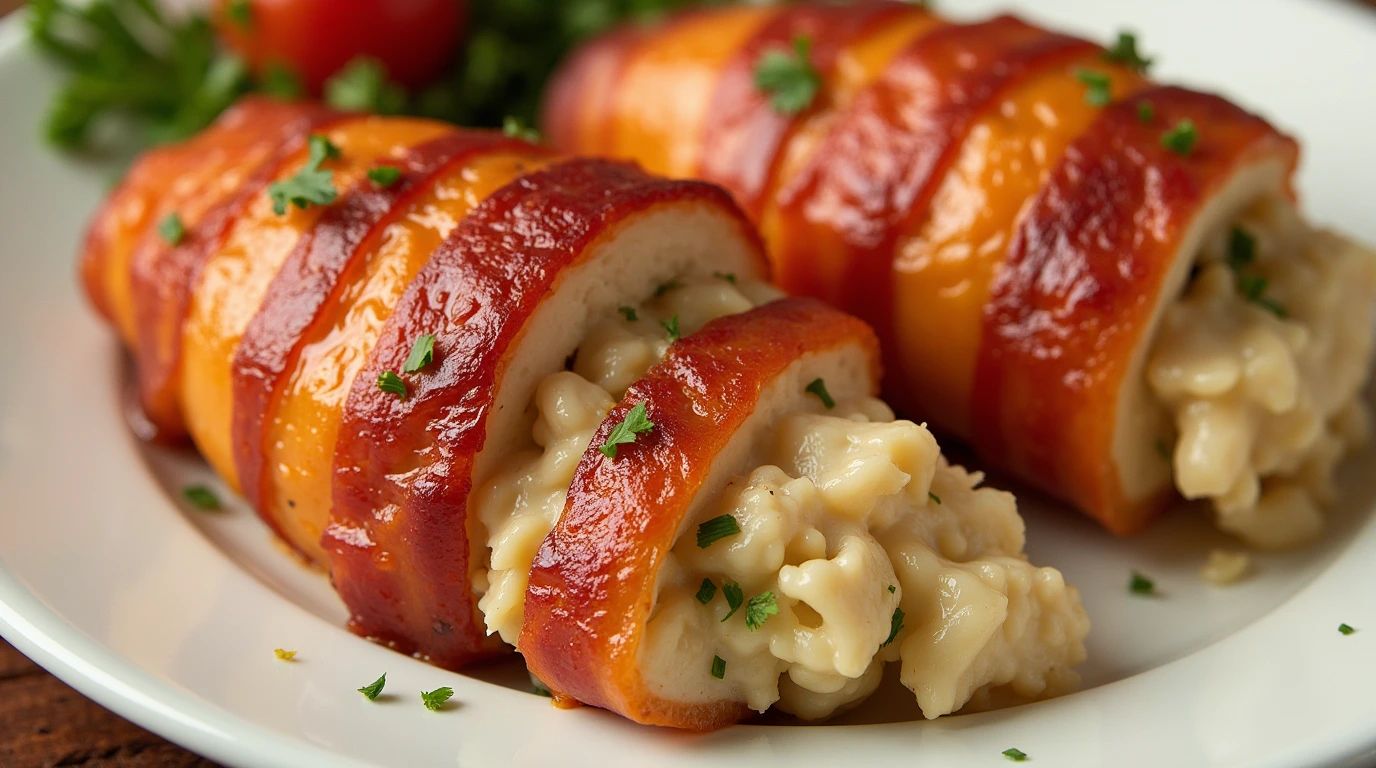
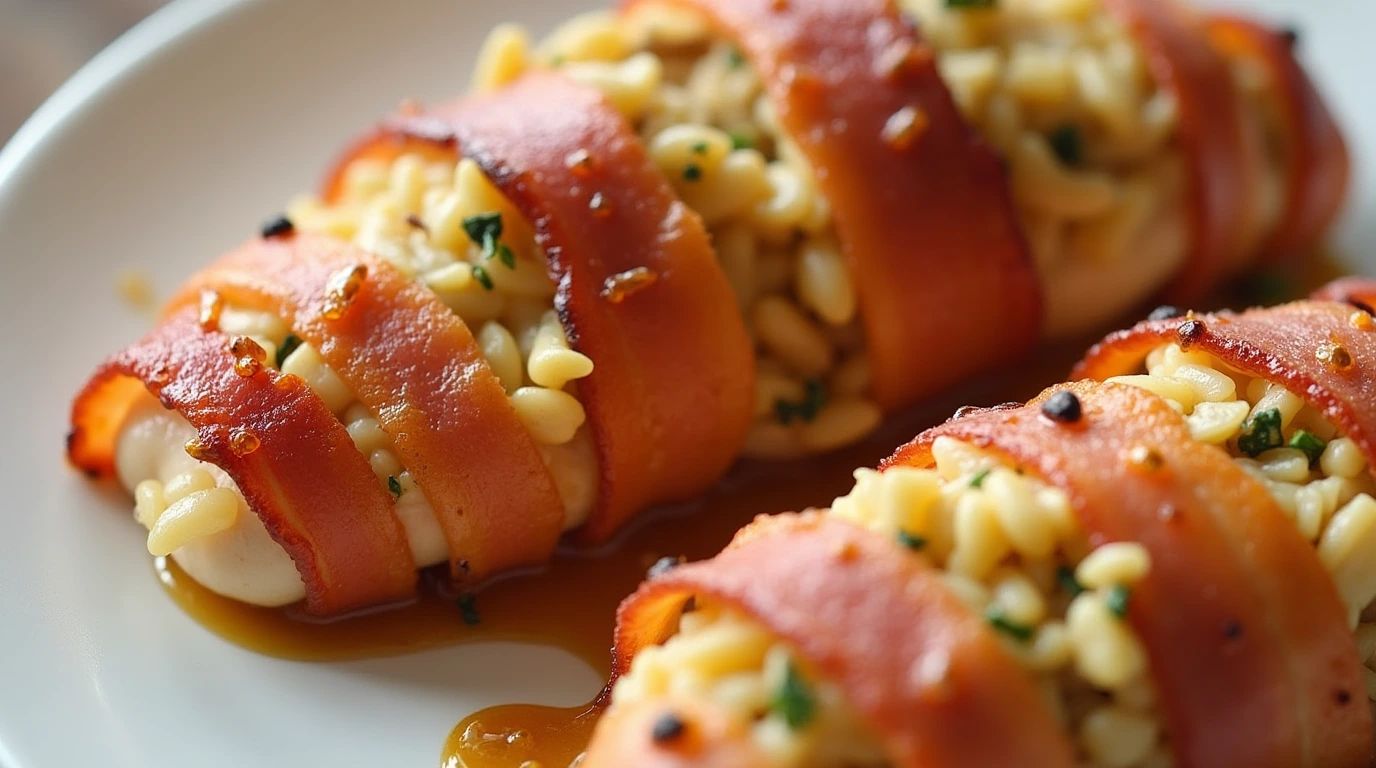
You’re going to love this mouthwatering stuffed wrapped chicken breast! 🤩 It’s juicy, flavorful, and wrapped in crispy bacon! 🥓 Plus, it’s super easy to make, and the flavors are out of this world! 🌎🔥
- Prep Time: 15 minutes
- Cook Time: 35 minutes
- Total Time: 50 minutes
- Yield: 4 servings
Ingredients
- 2 large chicken breasts
- 4 slices bacon
- 1/2 cup cream cheese
- 1/2 cup shredded cheddar cheese
- 2 cloves garlic, minced
- 1/2 tsp paprika
- 1/2 tsp salt
- 1/4 tsp black pepper
- 1 tbsp olive oil
Instructions
- First, preheat your oven to 375°F (190°C). Get ready to make something absolutely delicious! 🍽️
- Next, butterfly the chicken breasts by slicing them in half horizontally, but don’t cut all the way through! 🐔✂️
- Then, in a bowl, mix the cream cheese, cheddar cheese, garlic, paprika, salt, and pepper. This creamy filling is the secret to making every bite extra delicious! 😍🧀
- Now, spread the cheese mixture inside each chicken breast and fold them closed. Wrap each one with bacon to lock in all that juicy goodness! 🥓🔥
- In addition, heat a pan with olive oil and sear the wrapped chicken for 2 minutes on each side until crispy. This step adds extra flavor! 🍳
- Lastly, transfer to a baking dish and bake for 30 minutes, or until the chicken is fully cooked. The smell is going to make your mouth water! 🤤
- Finally, let it rest for a few minutes before serving. Then, dig in and enjoy your stuffed wrapped chicken breast! 🎉
A Mouthwatering Delight: Stuffed Wrapped Chicken Breast
Get ready for an explosion of flavors! 🤩✨ This delicious dish is the perfect mix of juicy, tender chicken, gooey cheese, and crispy bacon 🥓. It’s wrapped to perfection, locking in all the deliciousness! You won’t believe how easy it is to make! Plus, it’s fancy enough for a special dinner but simple enough for a weekday meal. 😍 So, let’s dive right in! 🎉
The Secret to the Perfect Bite
The best part? Every single bite is bursting with creamy, melty goodness! 🧀🔥 The crispy bacon on the outside adds a perfect crunch, making this dish absolutely irresistible. 🤤 First, we stuff the chicken with an amazing filling, then wrap it up snugly with delicious bacon. Then, it’s baked until golden and juicy! 🍗💛
A Recipe That Will Wow Your Guests
Looking to impress someone? This dish will do the trick! 😉 It’s packed with flavor, incredibly easy to make, and looks like a restaurant-quality meal. First, season the chicken with some spices to enhance the taste. Next, stuff it with a delightful mix of cheese, herbs, and other delicious ingredients. Then, wrap it all up in bacon for that ultimate crispy goodness! 🥓🔥 Lastly, pop it into the oven and let the magic happen. ✨
Why You’ll Love It
Besides being totally delicious, this recipe is also super versatile! You can switch up the stuffing to your liking—maybe add some spinach 🌿, mushrooms 🍄, or even a little spice! 🌶️ Also, it pairs wonderfully with so many sides—think mashed potatoes, roasted veggies, or a simple salad. 🥗😋 Plus, it’s perfect for meal prepping since it reheats beautifully! 🔥🍴
Nutrition
- Serving Size: 1 piece
- Calories: 495
- Sugar: 1.2 g
- Sodium: 620 mg
- Fat: 32.4 g
- Saturated Fat: 12.8 g
- Carbohydrates: 3.6 g
- Fiber: 0.5 g
- Protein: 45.2 g
- Cholesterol: 145 mg
Time to Try It!
Now that you know all the secrets, it’s time to make this stuffed wrapped chicken breast yourself! 🤩🔥 Whether you’re making it for a special occasion or just because you’re craving something delicious, this dish is sure to be a hit. ❤️ So, grab your ingredients and start cooking—it’s going to be amazing! 🍗✨
FAQs ❓
Do you peel plums before baking?
It depends on how you’re using them. When making jelly or jam, yes you should peel plums. When making this recipe, or other recipes where you roast or bake plums, leave the skin on. They add nice color and shape, plus a bit of tartness that contrasts nicely with the sweetness of the plum flesh.
What is the difference between a tart and a plum galette with puff pastry?
I took a few liberties in naming this plum dessert a “tart.” Mine is actually not really a tart or a galette. Technically, tarts are baked in a very specific style pan (a tart pan) while a galette is a French pastry that’s basically a freeform pie. For a galette, pie crust is rolled flat, filled with lots of fresh fruit (sliced or chopped), then the edges of the crust are folded over the edge of the fruit, overlapping around 1 inch. My tarts are freeform, but with a thinner, puff pastry crust instead of a pie crust. In addition, mine don’t have as much fruit as a typical galette, and the edge of the crust isn’t folded on top of the fruit.
How do you keep the bottom of mini plum tarts from getting soggy?
I’ve never had an issue with these tarts getting soggy. Don’t make them more than 8 hours ahead and make sure to cook them until the crust is crispy.
Try These Other Recipes!

Recipe by Jound
25 mins

Recipe by Jound
15 mins
Recipe by Jound
25 mins

Recipe by Jound
30 mins