
Cheesy Chicken Fajita Pasta Bake – A Flavorful & Comforting Dish!
Ever had one of those days when you crave something creamy, cheesy, and packed with bold flavors? 🤤 Well, you’re in luck because this cheesy chicken fajita pasta bake is here to save the day! 🧀🔥 Imagine sizzling fajita flavors combined with pasta and melted cheese – pure magic! ✨ First, it’s super easy to make. Next, it’s packed with colorful bell peppers, tender chicken, and a creamy, seasoned sauce that makes every bite irresistible. Also, it’s perfect for busy weeknights when you want something delicious but don’t want to spend hours cooking. So, what’s more, it’s a family favorite that even picky eaters love! In addition, you can prep it ahead and pop it in the oven when you’re ready. Ready to dive into this cheesy goodness? Let’s get cooking! 🍽️🔥
Table of Contents
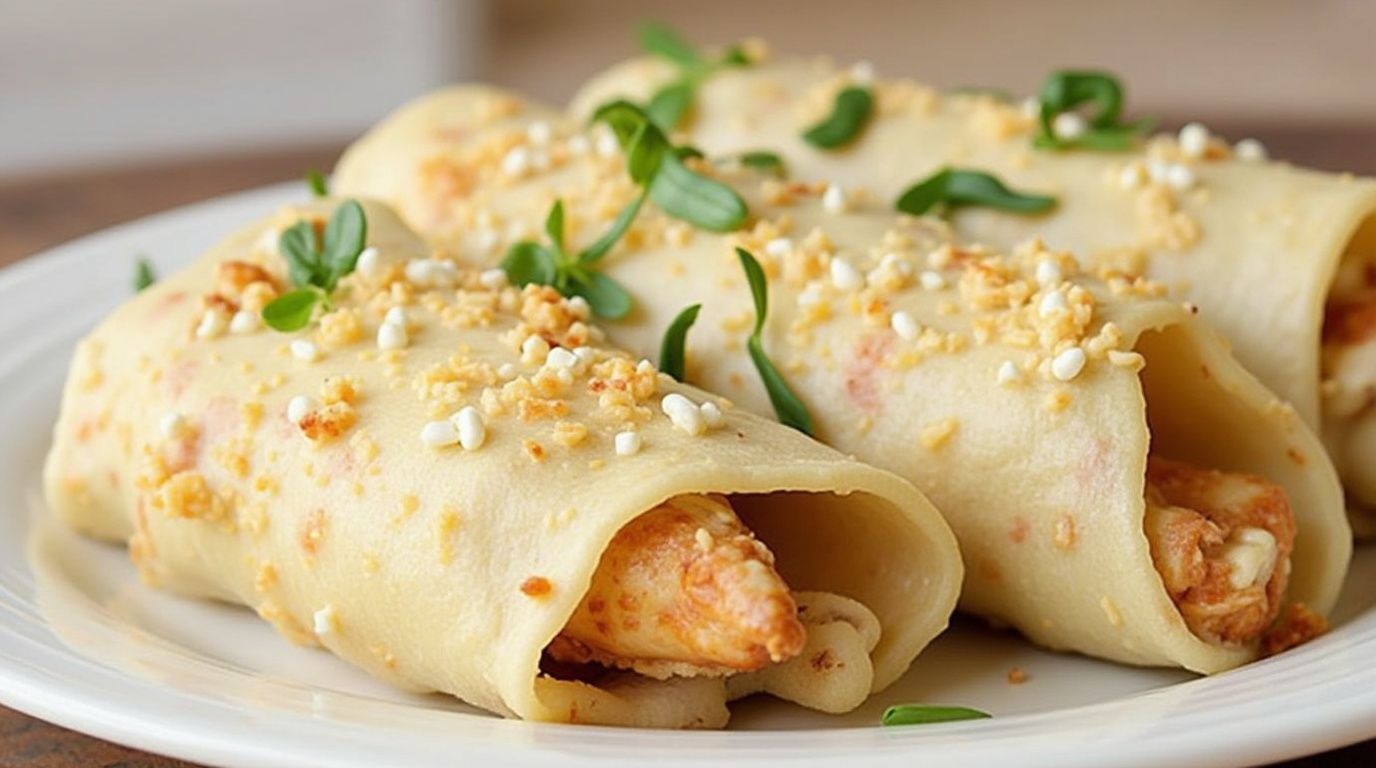
Chicken Fajita Pasta Bake
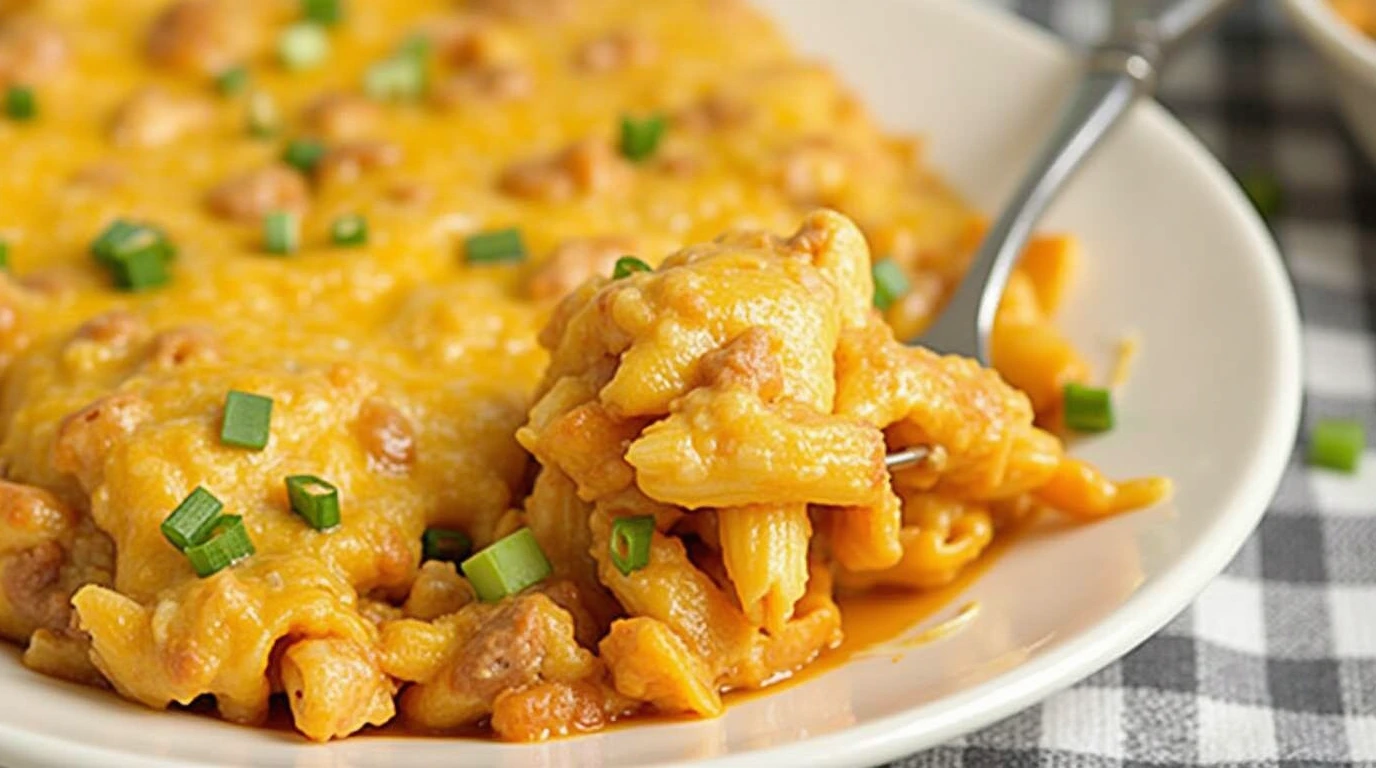
This chicken fajita pasta bake is a flavor explosion in every bite! 😍🔥 Creamy pasta, sizzling fajita-seasoned chicken, and colorful peppers all baked to perfection! 🧀🌶️ It’s super easy, totally delicious, and the best part? Your whole family will love it! 🤩💕
- Prep Time: 10 minutes
- Cook Time: 25 minutes
- Total Time: 35 minutes
- Yield: 6 servings
Ingredients
- 2 cups cooked pasta (penne or rigatoni)
- 2 chicken breasts, sliced
- 1 red bell pepper, sliced
- 1 green bell pepper, sliced
- 1 yellow bell pepper, sliced
- 1 small onion, sliced
- 2 tsp fajita seasoning
- 1 cup heavy cream
- 1 cup shredded cheddar cheese
- 1/2 cup shredded mozzarella cheese
- 1/2 tsp garlic powder
- 1/2 tsp salt
- 1/4 tsp black pepper
- 1 tbsp olive oil
Instructions
- First, preheat your oven to 375°F (190°C). 🏡🔥
- In a large pan, heat olive oil over medium-high heat. Then, add chicken slices and season with fajita seasoning. Cook until golden brown. 🍗🌶️
- Next, toss in the sliced peppers and onions. Sauté everything until the veggies are soft and fragrant. 🥰🍽️
- Meanwhile, cook your pasta according to package instructions. Once done, drain and set aside. 🍝✨
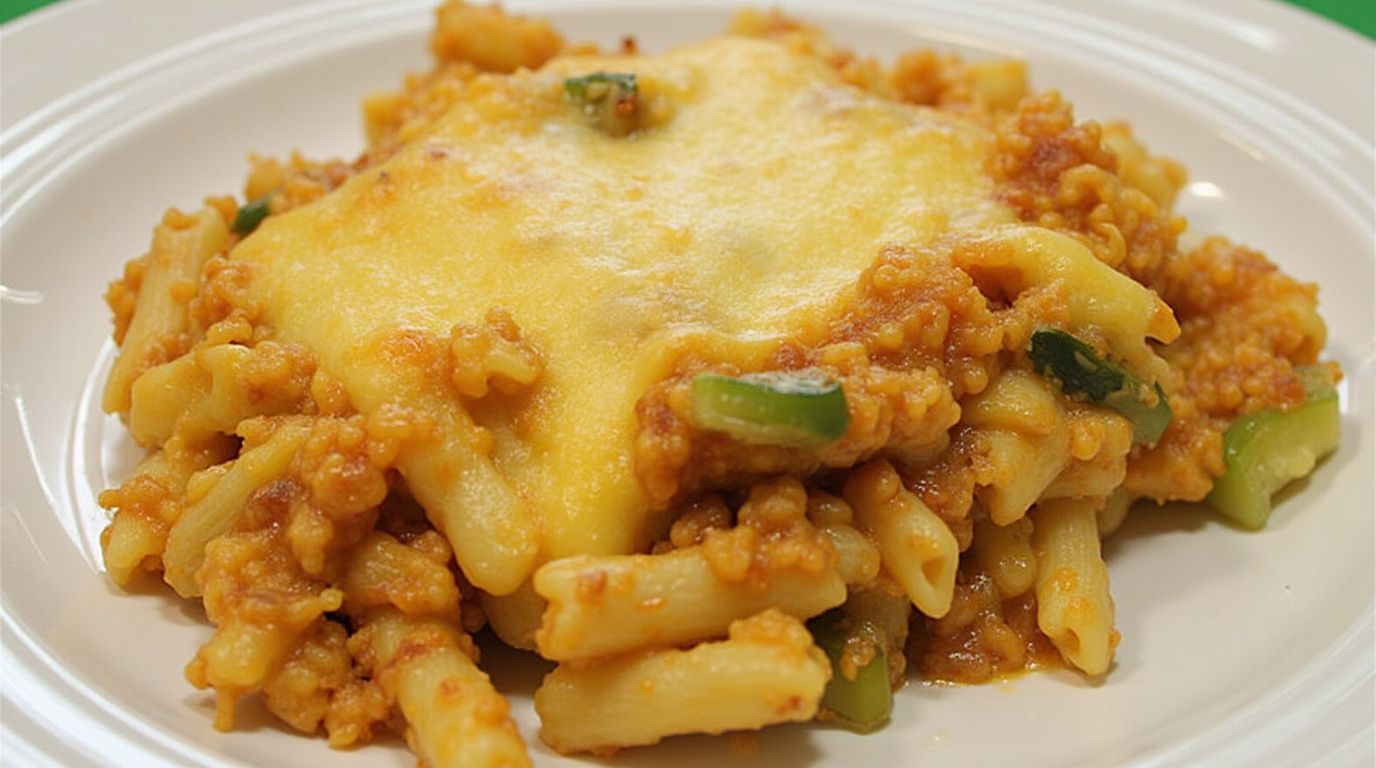
- In a baking dish, combine the cooked pasta, chicken, veggies, heavy cream, and seasonings. Stir everything together. 🤩👌
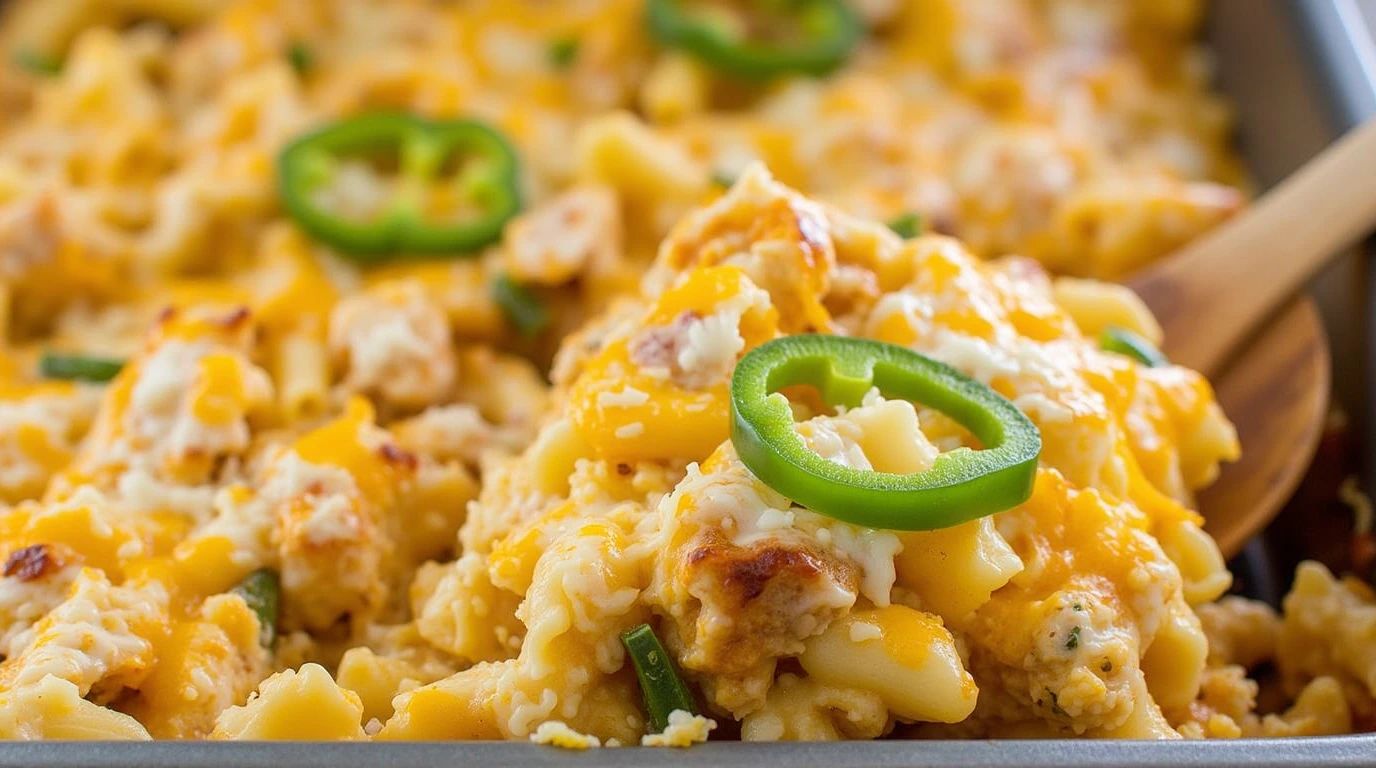
- Now, sprinkle shredded cheddar and mozzarella cheese on top—because cheese makes everything better! 🧀💕
- Bake for 15 minutes or until the cheese is bubbly and golden. 🥳🔥
- Finally, remove from the oven, let it cool for a few minutes, and dig in! 😍🍽️
Table of Contents
About This Recipe
🔥 If you love bold flavors, cheesy goodness, and a dish that brings comfort in every bite, then this chicken fajita pasta bake is going to be your new favorite! 😍 It’s the ultimate fusion of classic fajitas and creamy, cheesy pasta – basically, a dream come true for your taste buds! 🤩 Plus, it’s a one-pan wonder, meaning fewer dishes and more time to enjoy every delicious bite. 🍽️✨
Nutrition
- Serving Size: 1 serving
- Calories: 625 kcal
- Sugar: 5.3 g
- Sodium: 480 mg
- Fat: 21.2 g
- Saturated Fat: 9.8 g
- Carbohydrates: 72.5 g
- Fiber: 4.3 g
- Protein: 38.1 g
- Cholesterol: 67 mg
How to Make It
🎉 First, let’s get started by cooking the pasta until it’s perfectly tender! 🍝 Meanwhile, we’ll sauté those colorful bell peppers and juicy chicken strips until they’re beautifully caramelized and packed with flavor. 🌶️🔥
Next, we mix in a creamy, cheesy sauce that’s going to make this chicken fajita pasta bake insanely delicious! 🤤 Just imagine that rich, gooey goodness melting over the pasta and chicken… pure heaven! 🧀😍
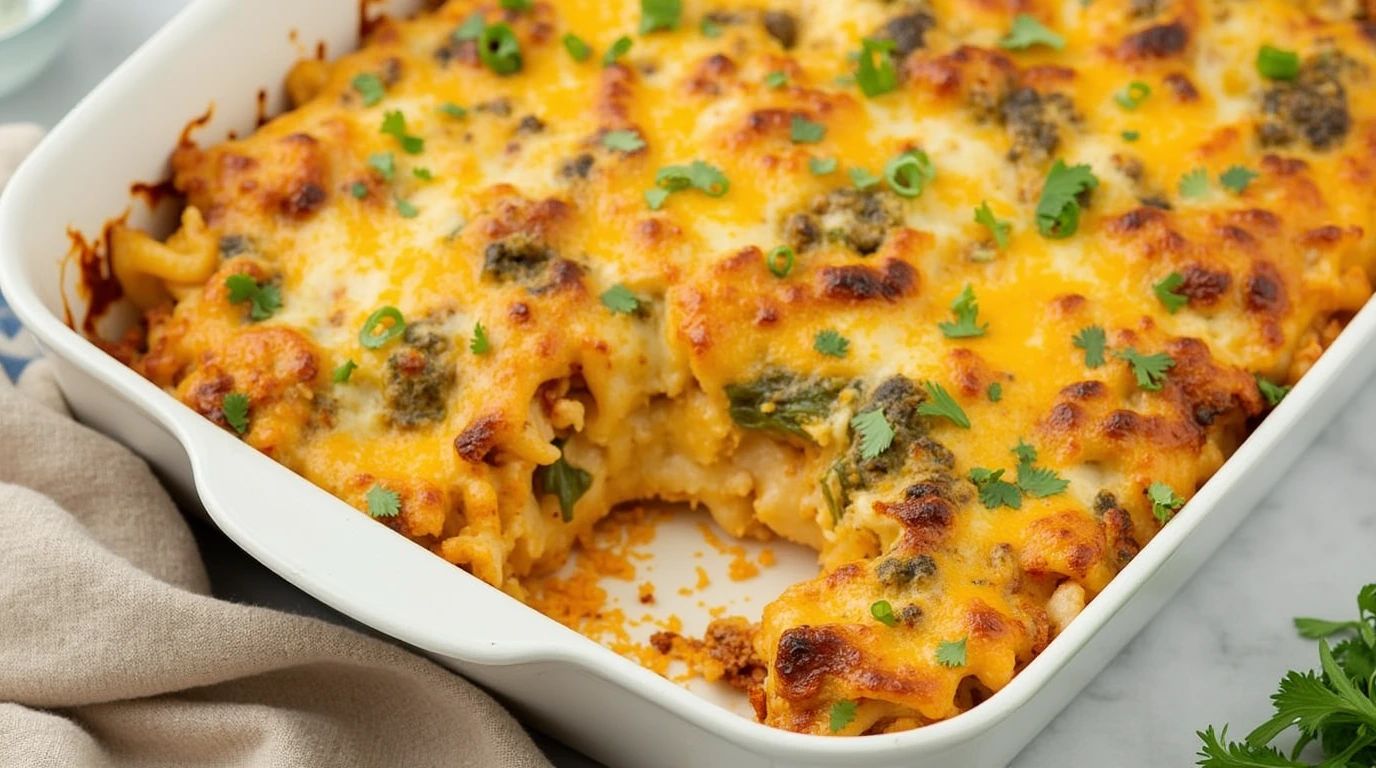
Then, we transfer everything to a baking dish, top it with even more cheese (because why not?!) 🧀✨ and let it bake until it’s golden and bubbly. Trust me, the aroma alone will have everyone running to the kitchen! 🏃♀️💨
Finally, once it’s out of the oven, sprinkle some fresh cilantro or green onions for that extra pop of flavor! 🌿🥳 Serve it hot, and get ready to enjoy a plateful of happiness! 😍💛
This chicken fajita pasta bake is a guaranteed crowd-pleaser! 🥰 Whether you’re making it for a family dinner, meal prep, or a fun get-together, it’s always a hit! So, go ahead and give it a try – you won’t regret it! 🍽️✨
FAQs ❓
Do you peel plums before baking?
It depends on how you’re using them. When making jelly or jam, yes, you should peel plums. When making this recipe, or other recipes where you roast or bake plums, leave the skin on. They add nice color and shape, plus a bit of tartness that contrasts nicely with the sweetness of the plum flesh.
What is the difference between a tart and a plum galette with puff pastry?
I took a few liberties in naming this plum dessert a “tart.” Mine is actually not really a tart or a galette. Technically, tarts are baked in a very specific style pan (a tart pan) while a galette is a French pastry that’s basically a freeform pie. For a galette, pie crust is rolled flat, filled with lots of fresh fruit (sliced or chopped) then the edges of the crust are folded over the edge of the fruit, overlapping around 1 inch. My tarts are freeform, but with a thinner, puff pastry crust instead of a pie crust. In addition, mine don’t have as much fruit as a typical galette, and the edge of the crust isn’t folded on top of the fruit.
How do you keep the bottom of mini plum tarts from getting soggy?
I’ve never had an issue with these tarts getting soggy. Don’t make them more than 8 hours ahead and make sure to cook them until the crust is crispy.
Try These Other Recipes!

Recipe by Jound
25 mins

Recipe by Jound
15 mins
Recipe by Jound
25 mins

Recipe by Jound
30 mins